

How to record your presentation directly in the upload area
The virtual conference platform offers the option to record your presentation directly in the upload area. This will be useful in case you do not have any software (e.g. Power Point or Keynote) that allows you to record video and audio in a presentation. To record your presentation directly on the platform please follow these instructions:
- Log into the VIRTUAL CONFERENCE PLATFORM using the same email and password you used for your registration.
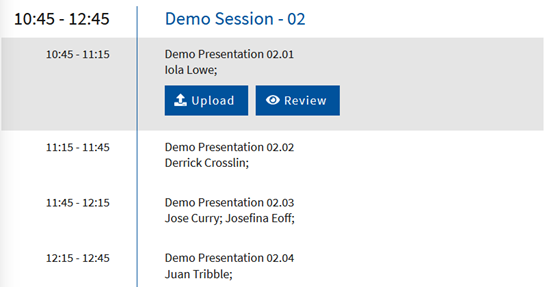
- Once you have accessed the virtual conference platform, click on the menu option labelled “My Sessions/Presentations” to get an overview of all your presentations.
- You will have the option to Upload and Review your presentatio(s). This will display as follows:
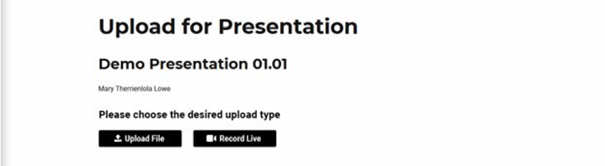
- Please click on “Record Live“. In here you will have the option to record your presentation live using your own browser:
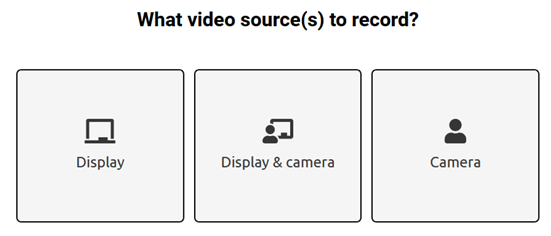
- When you click on “Record Live” you will first need to select the sources you would like to record. Please select Display (screenshare) & Camera (webcam incorporated in your device):
- After selecting the sources, you will be asked by the system for permission to access your camera and to identify the window from your computer that should be recorded.
- Once you give permission to access your camera and select the window you want to share, you will see a preview as follows:
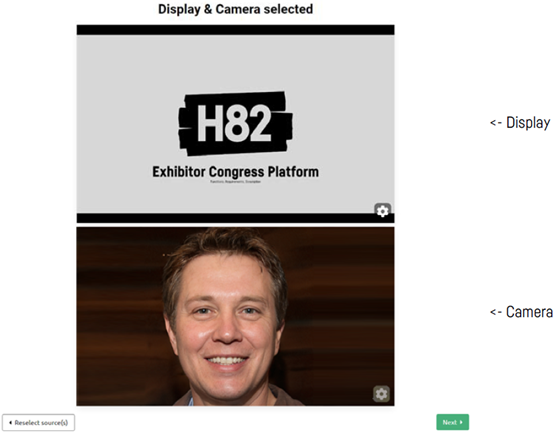
- If you see all your desired sources you can select “Next”.
- In the next step, you can choose if you want to record your audio or not:
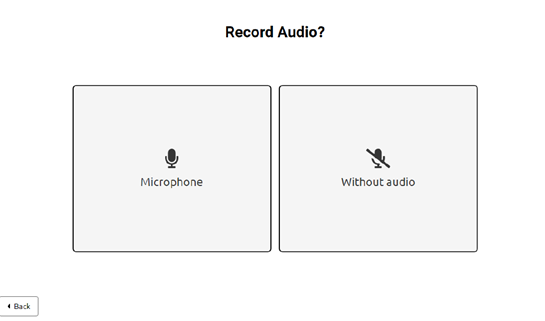
Important: Choosing to continue without Audio will result in a silent video! Audio already included in your presentation will not be recorded this way. If you already have a “narrated” presentation, please export it as an MP4 file and upload it to the platform.
- Once you selected “Microphone” you will have the option to select which microphone (device) you want to use and check if it is working properly. This step will look as follows:
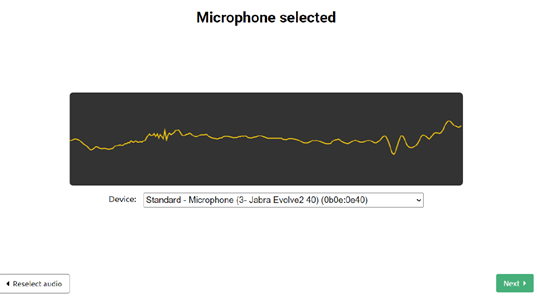
Important: We strongly advise you to use a headset microphone or get the microphone as close as possible to your mouth to ensure the best audio quality!
- Once you have selected your microphone, please click “Next” to check if it is working properly.
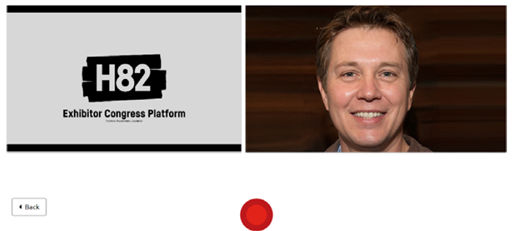
- In the next page you will be able to start your recording by clicking on the red recording button:
a. To control your shared window, you need to switch to the corresponding application to control it (e.g. PowerPoint or Keynote). If you change the active window, the recording will continue in the background. When you are done, please click the stop button, or if you need a break, you can also pause the recording by clicking the pause button: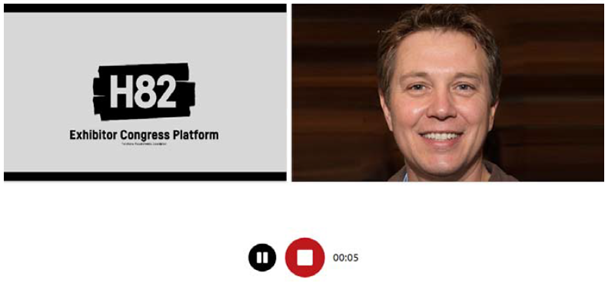
b. You can resume the recording by clicking on the play button: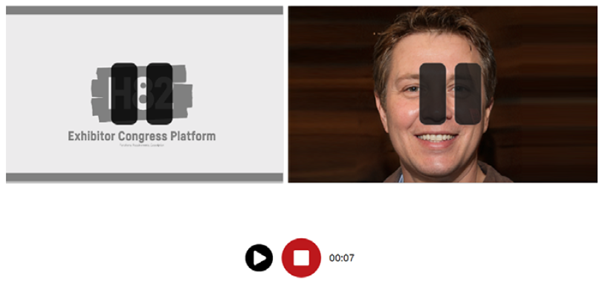
c.When you are done click on the stop button and you will be redirected to the page to review your presentation:
- On the reviewing page you will be able to replay your presentation to review it. In this page you can:
a. Watch and listen to your entire recorded presentation
b. Record your presentation again by clicking on the “Discard and record again” button.
If you are satisfied with the recoding of your presentation please click on “Next” to conclude the recording.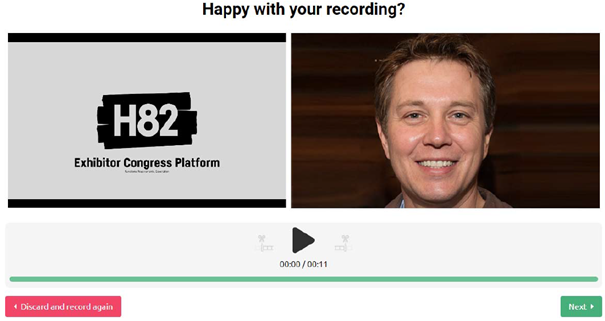
- On the last page you can:
a. Check the title of your presentation and your name
b. Download a recording of your presentation
- To complete the submission process, do not foregt to click on “Upload to platform” to submit your presentation for the conference.
- As soon as your presentation is uploaded you will be informed via email that your file has been received. The system will then combine your two videos into one. As soon as the processing is done, you will be notified again via email to review and approve your presentation.
Important: Please note that only approved recordings will be used for the conference!